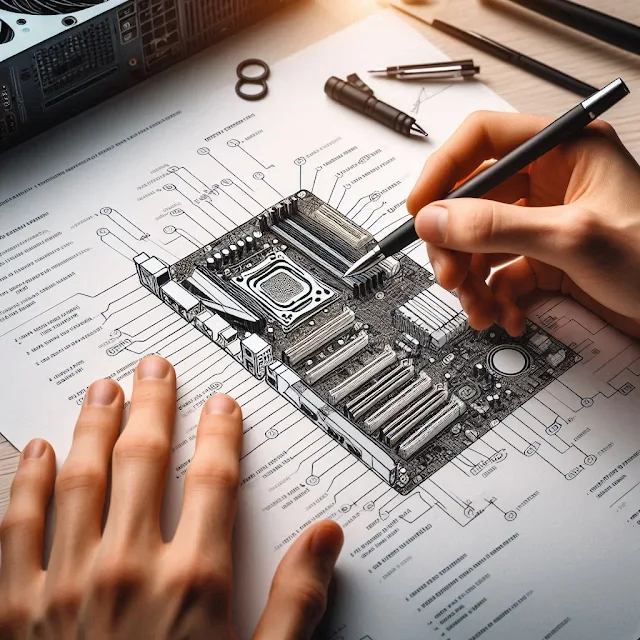
How to Build a PC: A Step-by-Step Guide
How to Build a PC: A Step-by-Step Guide
Building your own PC can be a rewarding experience, giving you control over every component and allowing you to create a machine that perfectly fits your needs. Whether you're a gaming enthusiast, a content creator, or just someone looking for a high-performance workstation, this guide will walk you through the entire process of building a PC. Follow these detailed steps to ensure a successful build.
1. Plan Your Build
Before you dive into the hardware, it's essential to plan your build:
- Define Your Purpose: Determine what you need the PC for (gaming, video editing, general use) to choose the right components.
- Set a Budget: Establish a budget to guide your component choices. This will help you prioritize features and avoid overspending.
- Research Components: Familiarize yourself with the main components (CPU, GPU, motherboard, RAM, etc.) and their compatibility.
2. Gather Necessary Tools and Components
You'll need specific tools and components to build your PC:
- Tools: A screwdriver set, anti-static wrist strap, and cable management supplies.
- Components:
- Case: The enclosure that houses all your components.
- Motherboard: The main circuit board that connects all components.
- CPU: The processor, which acts as the brain of the computer.
- RAM: Memory used by the CPU to store data temporarily.
- GPU: Graphics card, essential for gaming and graphics-intensive tasks.
- Storage: SSD or HDD for storing your operating system and files.
- Power Supply Unit (PSU): Provides power to all components.
- Cooling: CPU cooler and case fans to manage heat.
3. Prepare the Workspace
Creating a clean, organized workspace is crucial:
- Choose a Clean Area: Work on a non-static surface, such as a wooden table.
- Wear Anti-Static Gear: Use an anti-static wrist strap to prevent static damage to components.
- Organize Components: Lay out all components and tools for easy access.
4. Install the CPU and RAM
Begin by installing the CPU and RAM onto the motherboard:
Install the CPU:
- Open the CPU socket on the motherboard.
- Align the CPU with the socket and gently place it in.
- Secure it with the locking mechanism.
Install the RAM:
- Open the RAM slots by pushing the clips to the side.
- Align the RAM modules with the slots and press down firmly until they click into place.
5. Install the Motherboard into the Case
Next, mount the motherboard into the case:
- Prepare the Case: Remove any panels or drive bays that might obstruct the motherboard.
- Install Standoffs: Place standoffs in the case where the motherboard screws will go.
- Place the Motherboard: Align it with the standoffs and secure it with screws.
6. Install the Power Supply Unit (PSU)
The PSU provides power to your components:
- Position the PSU: Place it in the designated area of the case (usually at the bottom or top).
- Secure the PSU: Use screws to fix it in place.
- Connect Power Cables: Connect the 24-pin ATX cable and the 8-pin CPU power cable to the motherboard.
7. Install Storage Drives
Install your storage drives:
- Mount Drives: Secure SSDs or HDDs in their designated bays or brackets.
- Connect Cables: Attach SATA cables from the drives to the motherboard and power cables from the PSU.
8. Install the Graphics Card (GPU)
The GPU is essential for high-performance tasks:
- Insert the GPU: Locate the PCIe slot on the motherboard and insert the GPU.
- Secure the GPU: Fasten it to the case with screws.
- Connect Power: Attach any necessary power connectors from the PSU to the GPU.
9. Connect All Cables
Proper cable management is key for airflow and organization:
- Connect Front Panel Cables: Attach cables for the power button, reset button, and USB ports to the motherboard.
- Connect Case Fans: Plug in any case fans to the motherboard or PSU.
- Organize Cables: Use cable ties or sleeves to keep cables neat and out of the way.
10. Test the Build
Before finalizing everything, test your build:
- Power On: Turn on the PC and check if all components are functioning.
- Check BIOS: Enter the BIOS/UEFI setup to ensure the components are recognized and properly configured.
- Install OS: If everything is working, proceed to install the operating system.
11. Finalize and Close the Case
Once testing is complete:
- Recheck Connections: Ensure all cables are securely connected.
- Close the Case: Attach the case panels and screws.
- Install Additional Software: Install drivers and any additional software required for your components.
12. Maintain Your PC
Proper maintenance ensures your PC runs smoothly:
- Clean Regularly: Dust off components and clean fans periodically.
- Monitor Temperatures: Keep an eye on temperatures to prevent overheating.
- Update Software: Regularly update drivers and operating system for optimal performance.
Conclusion
Building a PC is a gratifying process that allows you to tailor a machine to your specific needs. By following these steps, you can ensure a successful build, whether you're assembling a gaming rig, a workstation, or a general-purpose PC.


